Basic LED example
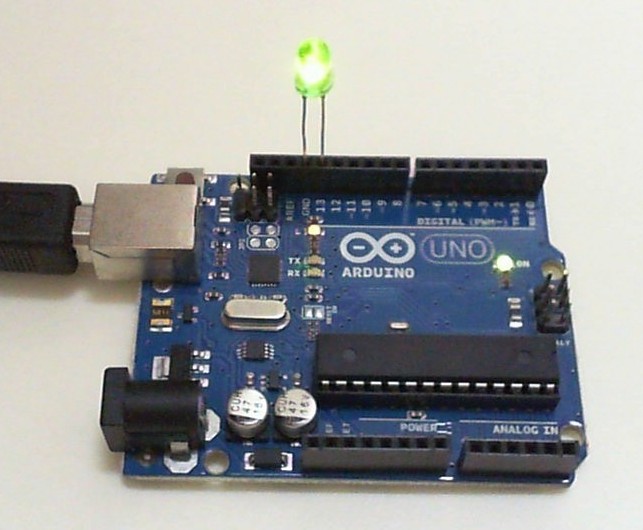
LED on pin 13 (Arduino UNO)
LED inserted directly into pin 13
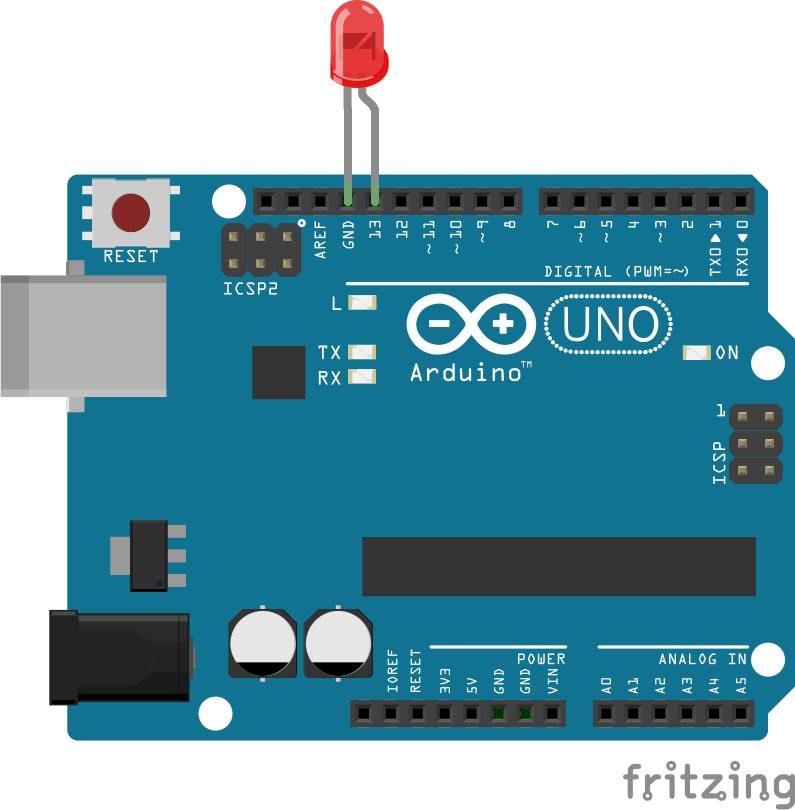
Fritzing diagram: led-13.fzz
Run this example from the command line with:
node eg/led.js
const { Board, Led } = require("johnny-five");
const board = new Board();

board.on("ready", () => {
  const led = new Led(13);

  // This will grant access to the led instance
  // from within the REPL that's created when
  // running this program.
  board.repl.inject({
    led
  });

  led.blink();
});
Illustrations / Photos
LED on pin 13 (Arduino UNO)
LED inserted directly into pin 13
LED on pin 13 with breadboard and resistor (Arduino UNO)
LED on a breadboard and demonstrating use of a resistor
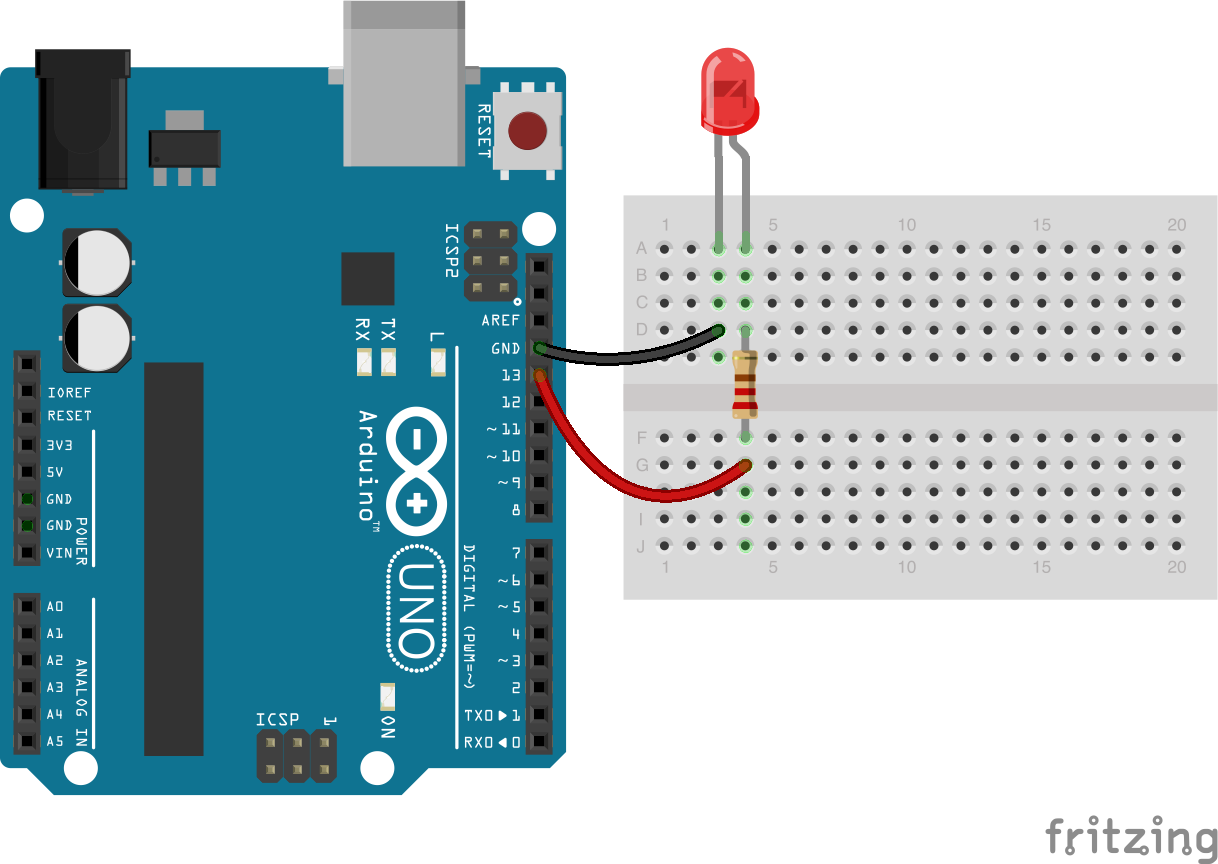
Fritzing diagram: led-resistor.fzz
LED on pin 13 (Arduino Mega)
LED inserted directly into pin 13
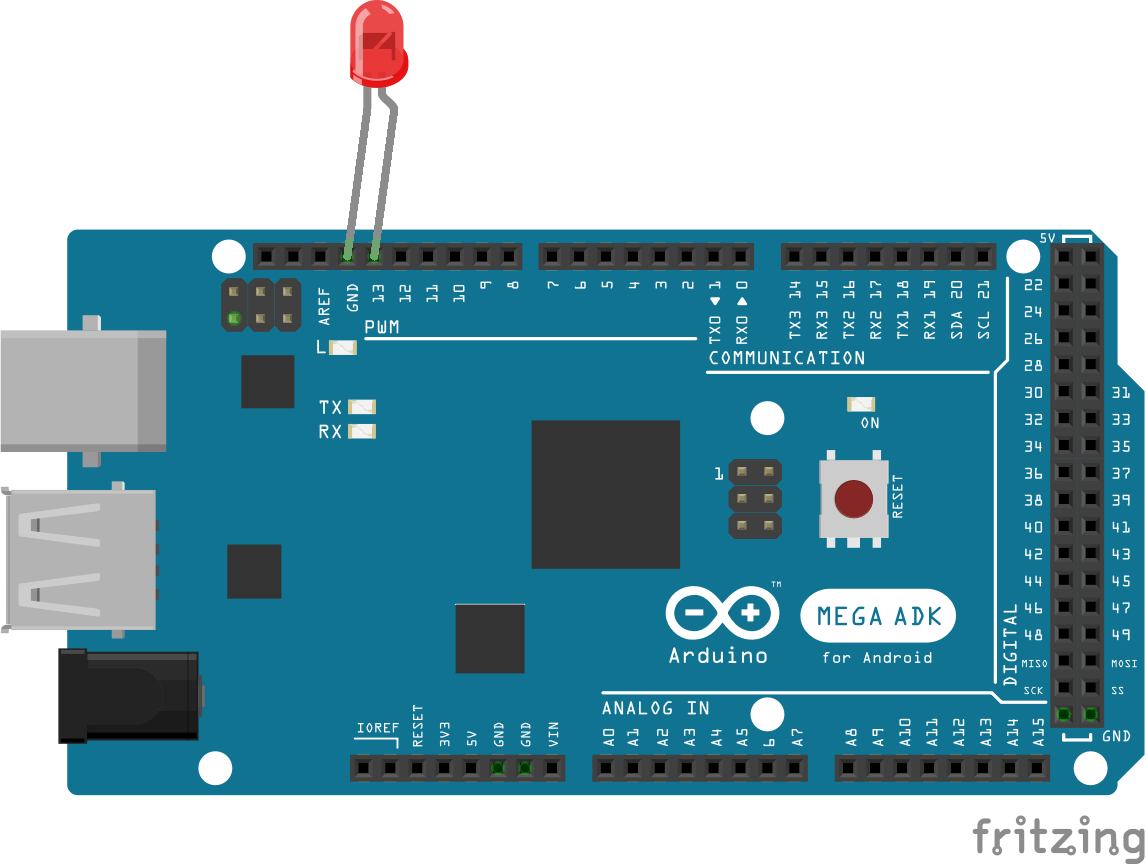
Fritzing diagram: led-13-mega.fzz
Additional Notes
This script will make led available in the REPL, by default on pin 13.
Now you can try, e.g.:
>> led.stop() // to stop blinking
then
>> led.off()  // to shut it off (stop doesn't mean "off")
then
>> led.on()   // to turn on, but not blink
